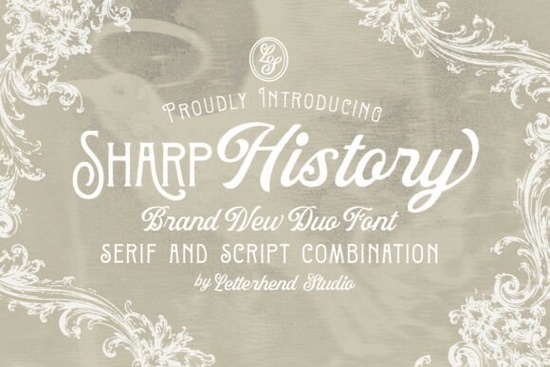
If you design wedding invitations, dream up branding for artisan shops, or sell custom quote prints, you know that the right font duo can do a lot of the heavy lifting. Sharp History is one of those duos it pairs a decorative serif with a soft, flowing script to give projects an instant vintage feel. The serif side feels grounded and classic with subtle flourishes on the capitals, while the script has a relaxed, hand-lettered rhythm that works especially well for names and signatures.
Whether you’re crafting a logo for a rustic bakery or designing a stationery suite for a client, the combination gives you two complementary tools inside one font family. Because the styles were made to sit together, you don’t need to spend hours hunting for a matching script.
Is the serif style too ornate for small business logos?
That depends on how small the text needs to be. The decorative details in the Sharp History serif are most visible at larger sizes think 24px and above. For a primary business name displayed on a storefront or a website header, the serif draws attention without feeling cluttered. When you scale it down for business cards or social media icons, the ornaments still come through but lose a little definition on very small screens. In those cases, you can rely on the script for the main name and use the serif for a tagline or date, or pair the serif with a clean sans-serif for supporting info.
Sharp History’s serif strikes a nice middle ground: it’s decorative enough to feel special but not so busy that it becomes hard to read at common logo sizes.
How does the script handle in lowercase and uppercase combinations?
The script is designed to look like natural, joined-up handwriting, so it really shines when you use it in sentence case or title case with mostly lowercase letters. The lowercase letters connect smoothly, while the uppercase script capitals have a slightly more formal, flourished appearance. Because of this, an all-caps word can look a bit stiff if you need all-caps for a short heading, the serif is usually the better choice. For a name on a wedding invitation or a signature-style logo, try using the script in title case (first letter uppercase, rest lowercase) to get that flowing handwritten effect.
When you pair the script with the serif, you can use the serif for the date and location in all caps, and keep the couple’s names in the script that’s a classic, balanced layout.
What types of print projects make the most of this duo?
Designers, crafters, and print-on-demand sellers will find Sharp History fits nicely into:
- Wedding and event stationery (save-the-dates, menus, place cards)
- Branding for vintage-inspired businesses (bakeries, florists, coffee shops)
- Custom apparel and tote bag prints that need a nostalgic look
- Greeting cards and social media quote graphics
- Packaging labels for handmade soaps, candles, or preserves
The serif’s ornamental touches give packaging an upscale feel, while the script adds a personal, handcrafted note. Print-on-demand sellers often lean on this kind of duo because it scales well on mugs, pillows, and framed prints without becoming overpowering.
Where can I find similar vintage serif fonts?
If you appreciate the antique character of Sharp History’s serif but want to explore alternatives, you have a few solid options. For projects that need a heavier, more authoritative serif, a strong serif like Strong brings extra weight without losing that old-world charm. If you’re after an editorial, magazine-style look that still feels classic, Medvilea’s clean serif is a great match for book covers and long-form print pieces. And for the original duo discussed here, you can always browse the full Sharp History serif family to see how it stacks up.
Typography collectors sometimes look at inspiration galleries to see fonts in real projects. Sites that showcase font pairings often include examples of Sharp History used in wedding branding and packaging, which can spark layout ideas.
How do I install Sharp History and start using it today?
After you download the font files from Creative Fabrica, installation is straightforward:
- On Windows: Right-click the .otf or .ttf file and choose “Install.” You can also double-click and press the “Install” button in the preview window.
- On Mac: Double-click the font file, then click “Install Font” in Font Book.
- In design software: Restart programs like Photoshop, Illustrator, or Cricut Design Space, and the font should appear in your type menu.
Once installed, the serif and script usually appear as two separate entries in your font list, so you can switch between them quickly while laying out your design.
Quick checklist for working with vintage font duos
Before you wrap up your next project, run through this short list:
- Test the script in title case for names and signatures avoid all-cap script for best flow.
- Use the serif for headlines and dates, and keep decorative elements at larger sizes.
- Pair the duo with a simple sans-serif for body text when you need longer descriptions.
- Try printing a test page; vintage-style serifs can look different on matte vs. glossy paper.
- Check the license for POD use if you plan to sell physical products featuring the font.
If you don’t already have Sharp History in your toolkit, you can grab it through the link at the start of this article. With a duo that handles both decorative and handwritten needs, you’ll save time and still get that timeless, handcrafted finish your clients love.
Explore Design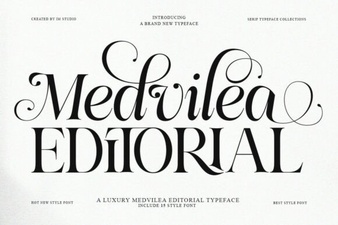 Medvilea Editorial Font: Creative Project Ideas
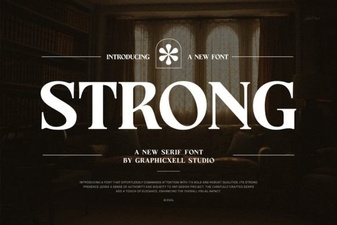 Bold Typography: Design Impact with Strong Fonts
 Retro Script Fonts: Add Classic Charm to Your Designs
 Inspire Creativity with Stunning Designer Fonts
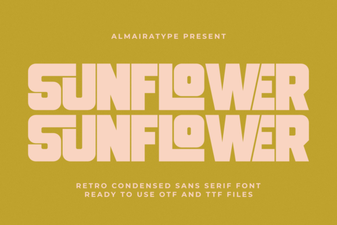 Creative Sunflower Fonts for Joyful Design Projects
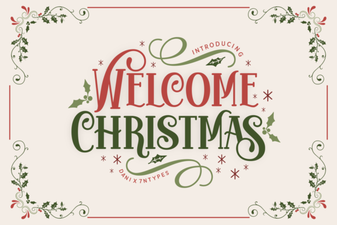 Welcome Christmas Font: Festive Typography & Design